Your first
steps with
Connectif
Welcome! Thanks for choosing Connectif as your marketing automation and personalization platform. We have prepared a series of resources to optimize the setup of your account.
Step 1. Get to know the different sections of Connectif
The Dashboard and Connectif’s menu
Welcome to the Connectif onboarding! In this video, you will learn how the Connectif Dashboard works, what the main areas are, and what you will find in each of them once you have integrated and configured your Store.![]() 6:58
6:58
Step 2. Integrate your store
Integrate your store
In this video, you’ll learn how to integrate your account with Connectif to collect contact data, information about the catalog, and purchases.![]() 4:00
4:00
Step 3. Set up your communication channels
Set up your communication channels
Once your store is integrated, you’ll be collecting information about your contacts, but to communicate with them, you’ll need to set up the different channels. Learn how they work and how to edit them to personalize the performance of each channel.![]() 6:39
6:39
Step 4. Get to grips with the Contacts section
Import your Contacts to store their information
Managing, importing, and updating contacts in Connectif is essential for configuring your account. To do this, you can use Connectif’s contact import tool.![]() 3:50
3:50
What Information will you find in the Contact profile?
In this video, we review the Contacts interface and Contact Profiles so you can get the contact’s digital footprint and update it if needed. Additionally, we explain how to export the information and activity of your contacts so you can store it outside of Connectif.![]() 9:55
9:55
How to add custom fields for your Contacts
In this video, you’ll learn how contact fields work and how to add custom fields to understand how information is distinguished and stored for use in your strategies.![]() 6:18
6:18
How to create Contact segments
Contact segments will allow you to carry out personalized strategies aimed at specific target audiences and see the performance of each type of audience, as well as perform other actions, such as quickly removing contacts.
![]() 8:12
8:12
Step 5. Manage your catalog and eCommerce information
How to import products
Product import allows you to add items to your catalog manually through the import tool, so you can have them readily available for your strategies.
![]() 5:36
5:36
How to create product segments
By specifying certain conditions and rules about your catalog to Connectif, you’ll obtain product segments to have them available in real-time and use them in different strategies.![]() 5:10
5:10
How to import your coupons for automation
Coupons allow you to utilize the various coupon codes existing in your eCommerce and include them in your Connectif strategies to distribute them automatically based on different objectives.![]() 4:07
4:07
Step 6. Connect with external channels through personalized events
Synchronize your Facebook Ads and Instagram Ads accounts
Connect your Facebook Ads account with your Connectif Store to synchronize your audiences and start working with them.![]() 3:55
3:55
Connect your Google Ads audiences with Connectif
The integration with Google Ads allows you to synchronize your Connectif contacts with different audience types such as Customer Lists, enabling you to use them in your Paid Media campaigns.![]() 4:34
4:34
How to create a custom integration to receive data
Through a custom integration, you can receive data from external systems to utilize information not default in the platform. In this video, you’ll learn how to do this step by step.![]() 4:44
4:44
How to create a custom integration to send data
Through a custom integration, you can send data from external systems to utilize information not default in the platform. In this video, you’ll learn how to do this step by step.![]() 3:25
3:25
Step 7. Manage different content
How to create and insert content on your website
In this video, you’ll learn how to create popups, full-screen content, slide-ins, floating bars, and inlines using the Web Content Editor and how the “Send web content” node works so you can insert them into your page.![]() 8:34
8:34
How to create and send emails
In this video, you’ll learn how the Email Editor works so you can create your emails and how to configure their sending through workflows using the “Send Email” node.
![]() 8:59
8:59
How to create and send push notifications
In this video, you will learn how the Web Push Notification Editor works, so you can create your notifications, and how to send them through workflows using the “Show Push Notification” node.
![]() 4:32
4:32
How to create and send SMS
In this video, you’ll learn how to create text messages using the SMS Editor and how to send them through workflows using the “Send SMS” node.![]() 4:47
4:47
Step 8. Turn your strategies into workflows
How to handle the Workflows interface
Workflows is the place where all the flows created in your Connectif account are stored. Through this screen, you can access and manage different strategies, as well as create new workflows and initiate those that are ready.![]() 6:15
6:15
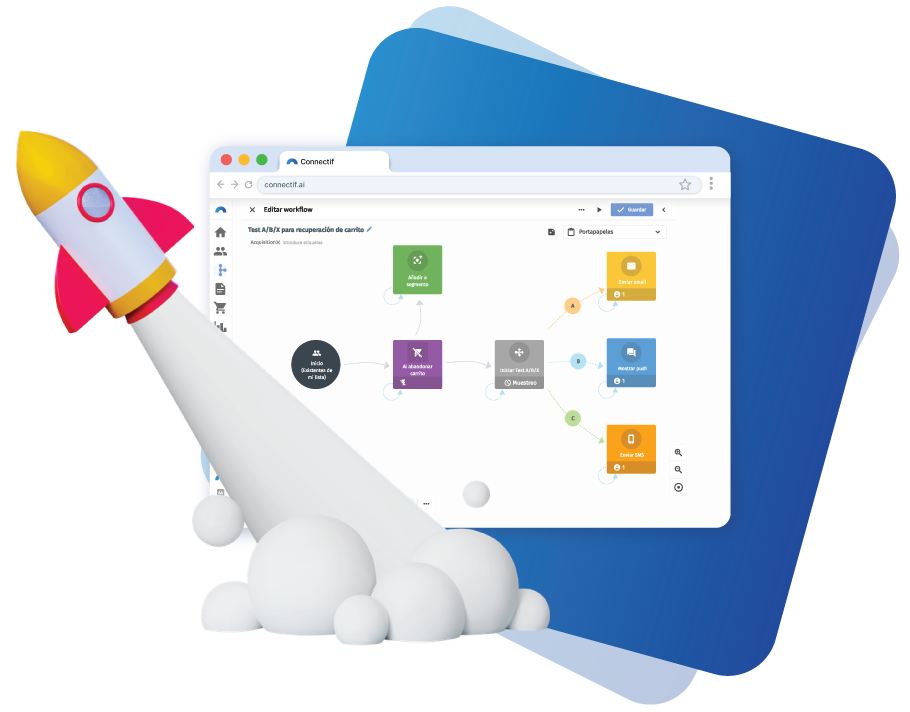
How to create your flows using the workflows editor
The workflows editor is the main functionality of Connectif, as it is where different strategies are shaped in the form of workflow flows.![]() 8:18
8:18
Step 9. Analyze your campaigns and their results
Review the information available on Analytics Dashboards
In this video, we will focus on Analytics Dashboards, the main functionality of the Analytics area in Connectif. Here you will find a summary of the most relevant statistics from your account, through predefined panels to which you can add filters to narrow down the results based on the information you are looking for.
![]() 5:54
5:54
Create your reports with Data Explorer
Data Explorer is the feature that allows you to use all the data collected by Connectif in real-time to create detailed reports with which you can see exactly the data you want. These reports will help you analyze your sales, measure the results of your campaigns, and identify trends, in a simple yet powerful way.
![]() 4:34
4:34
